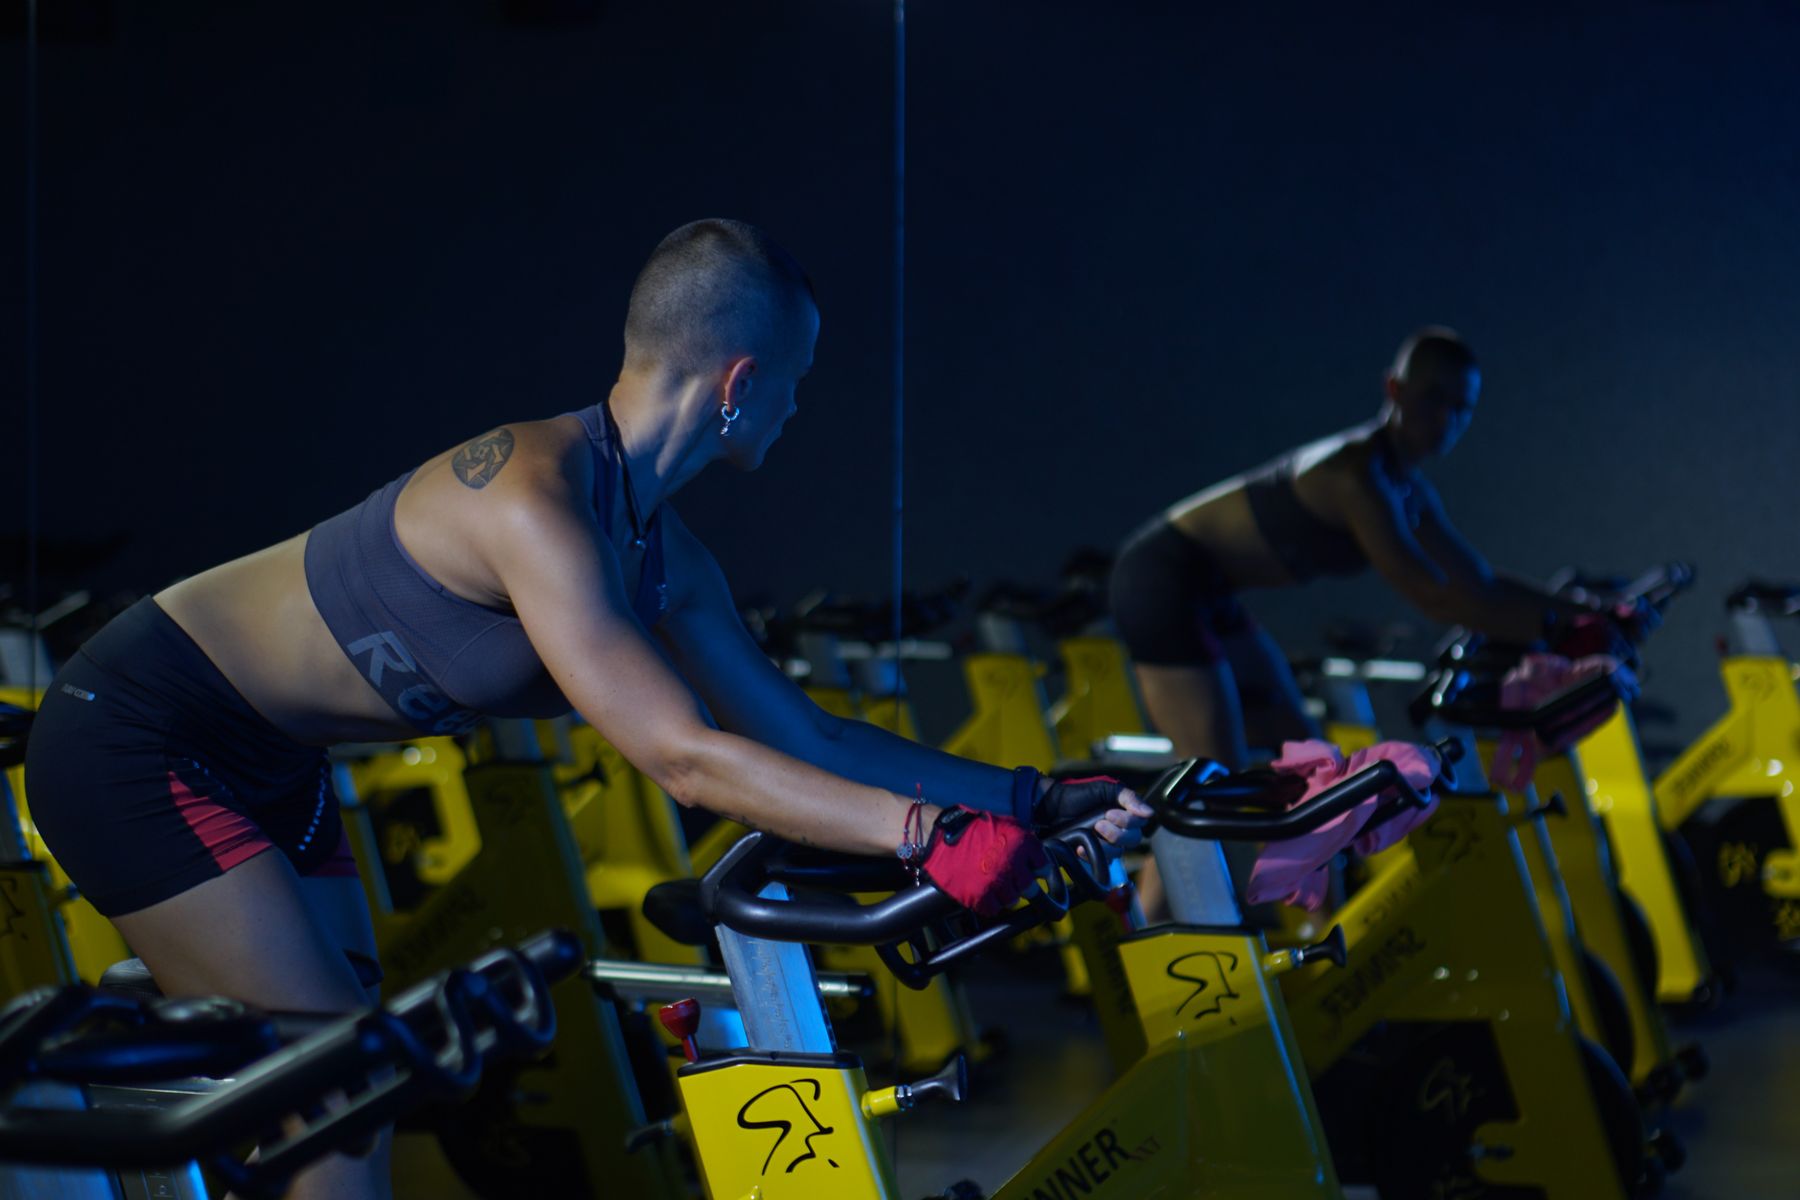
Free video bike fitting · no paywall
Your riding position, measured again.
A short clip filmed from the side is all it takes. The analysis reads your joint angles across every pedal revolution and tells you, in millimetres, what to change on your saddle and bars.
Start bike fitting- free, in full — no paywall
- just 2 minutes
- no server upload – your video stays private
- no sign-up
Graphical analysis
We measure every angle between you and your bike
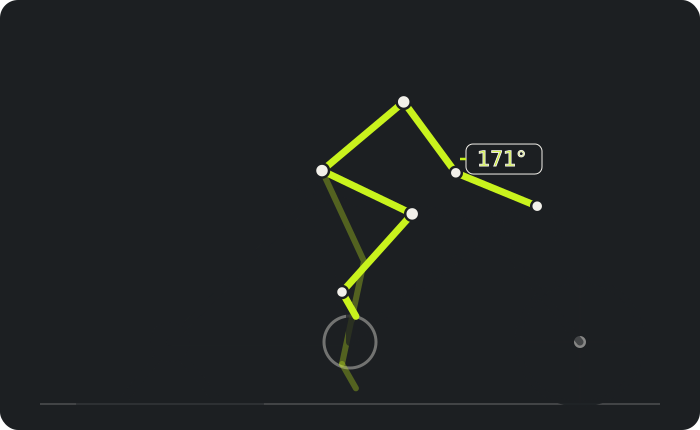
Your clip does not become a still frame, it becomes a movement analysis. The detection places points on shoulder, elbow, wrist, hip, knee and ankle, and follows them through every single crank revolution.
Each angle is read at the crank position where it biomechanically counts: knee extension at the bottom of the stroke, hip angle at the top. Those readings are compared against the target ranges for your bike type and your riding goal, and every deviation is flagged.
What comes out is not a column of numbers but a plan of action: what to change on saddle height, saddle position, cranks and cockpit — in millimetres, and in the order the changes build on each other.
The problem
Why your position decides between pain and pleasure
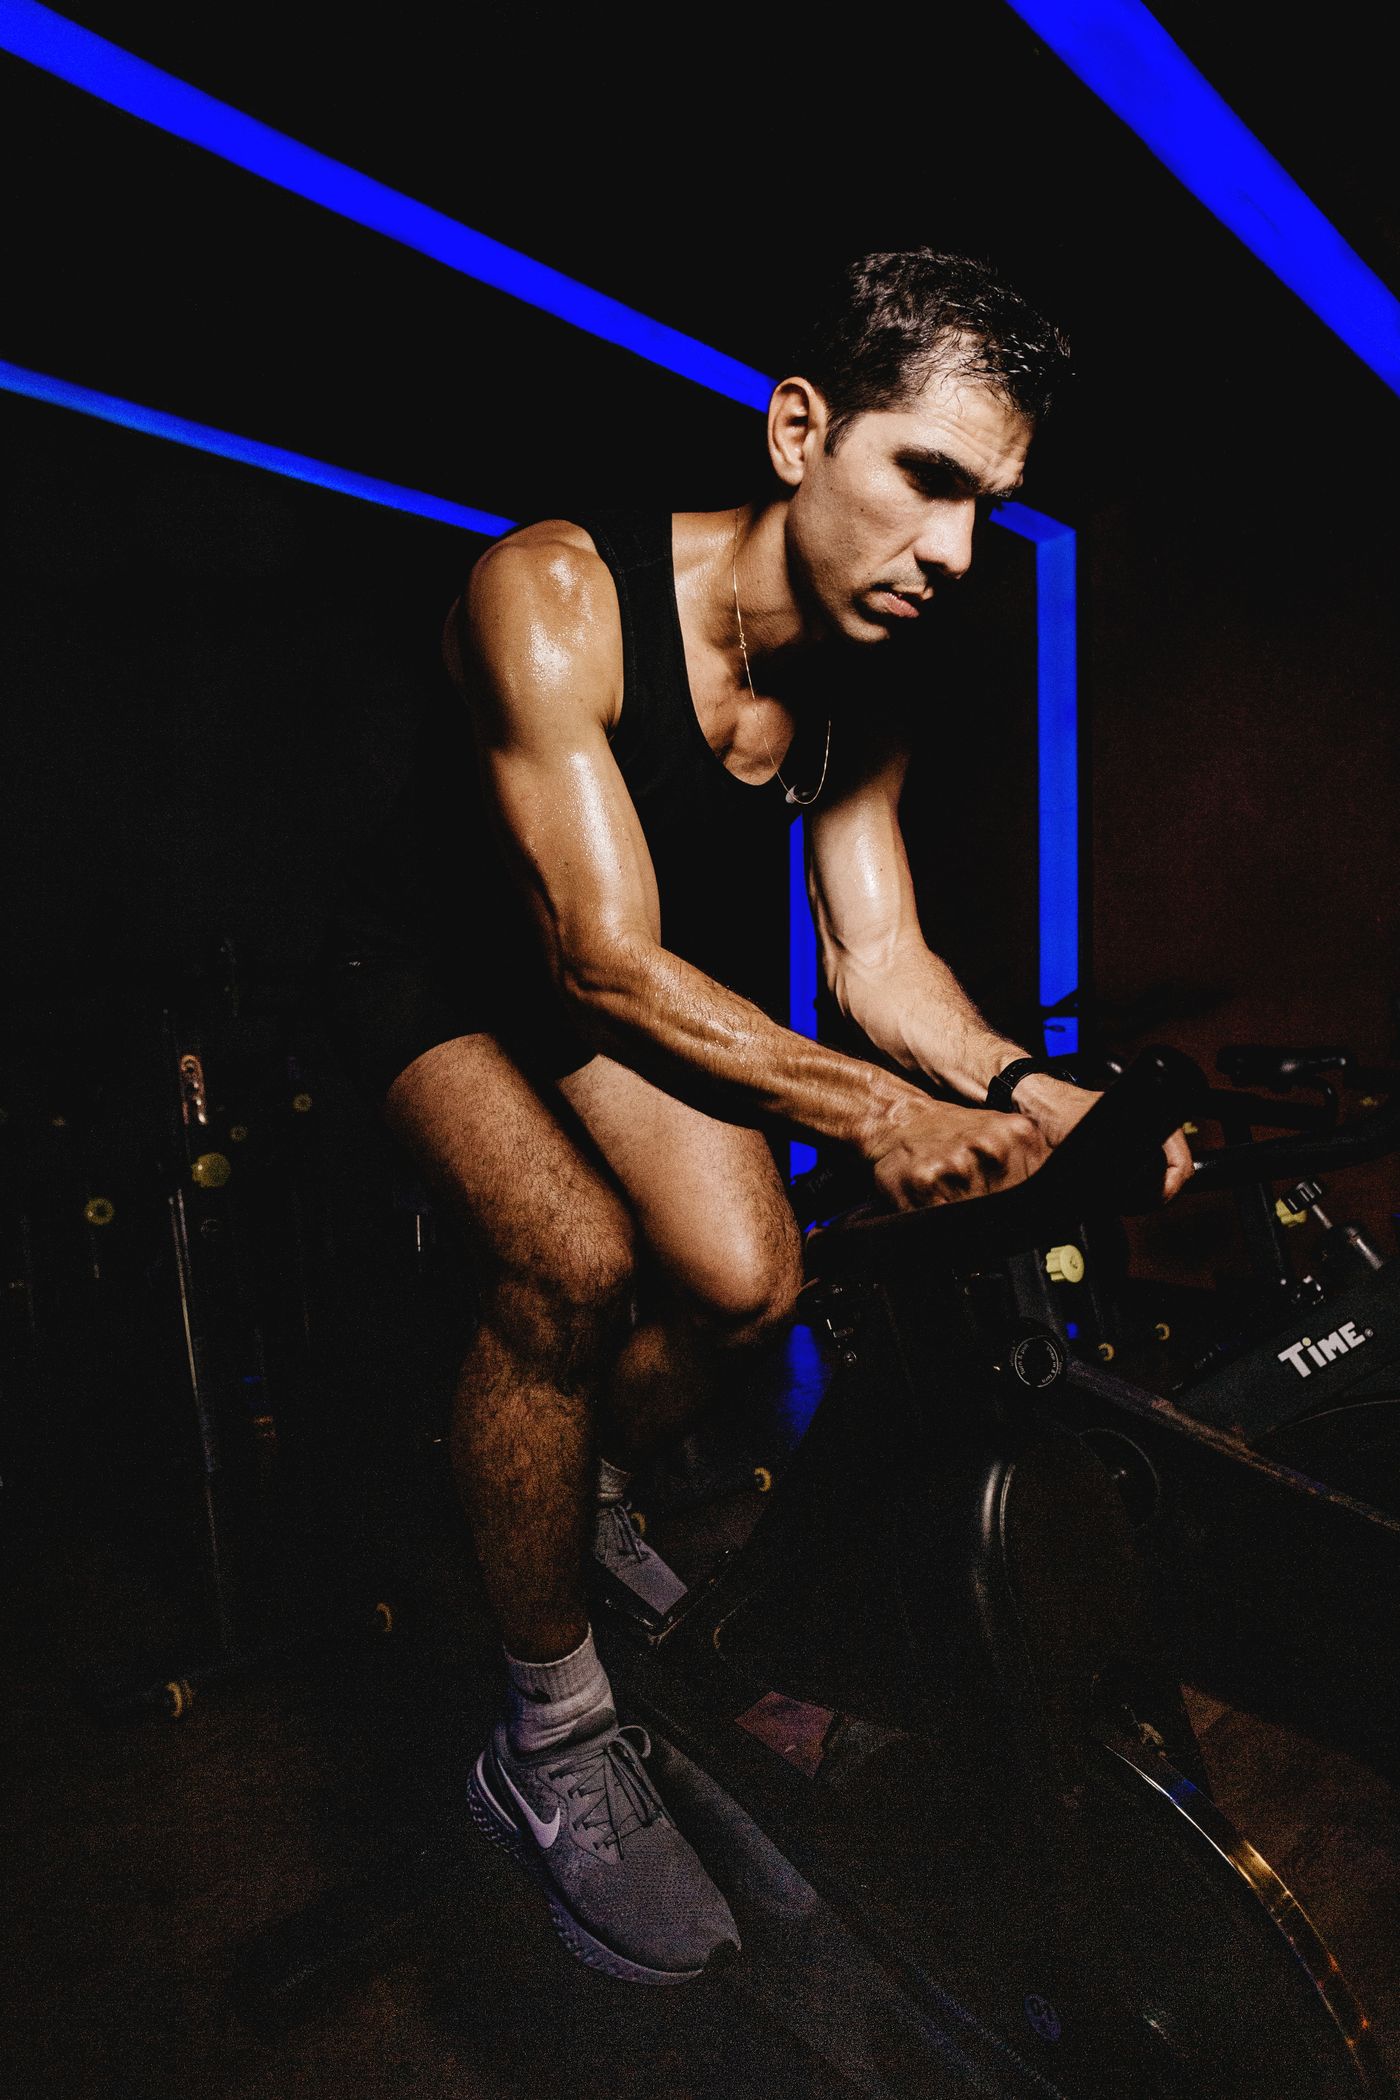
A saddle set too low, mounted too far forward, or a back stretched too flat rarely announces itself straight away — it shows up around the hundredth kilometre. Knee pain after longer rides, a nagging lower back, numb fingers on the bars: the cause is usually not the equipment but how the bike is set up.
A professional bike fitting in a studio typically costs between 100 and 250 euros. The fundamentals — knee extension, hip angle, torso angle, saddle height — can be checked from video, for free, in minutes.
How it works
Three steps to a better position
Record a clip
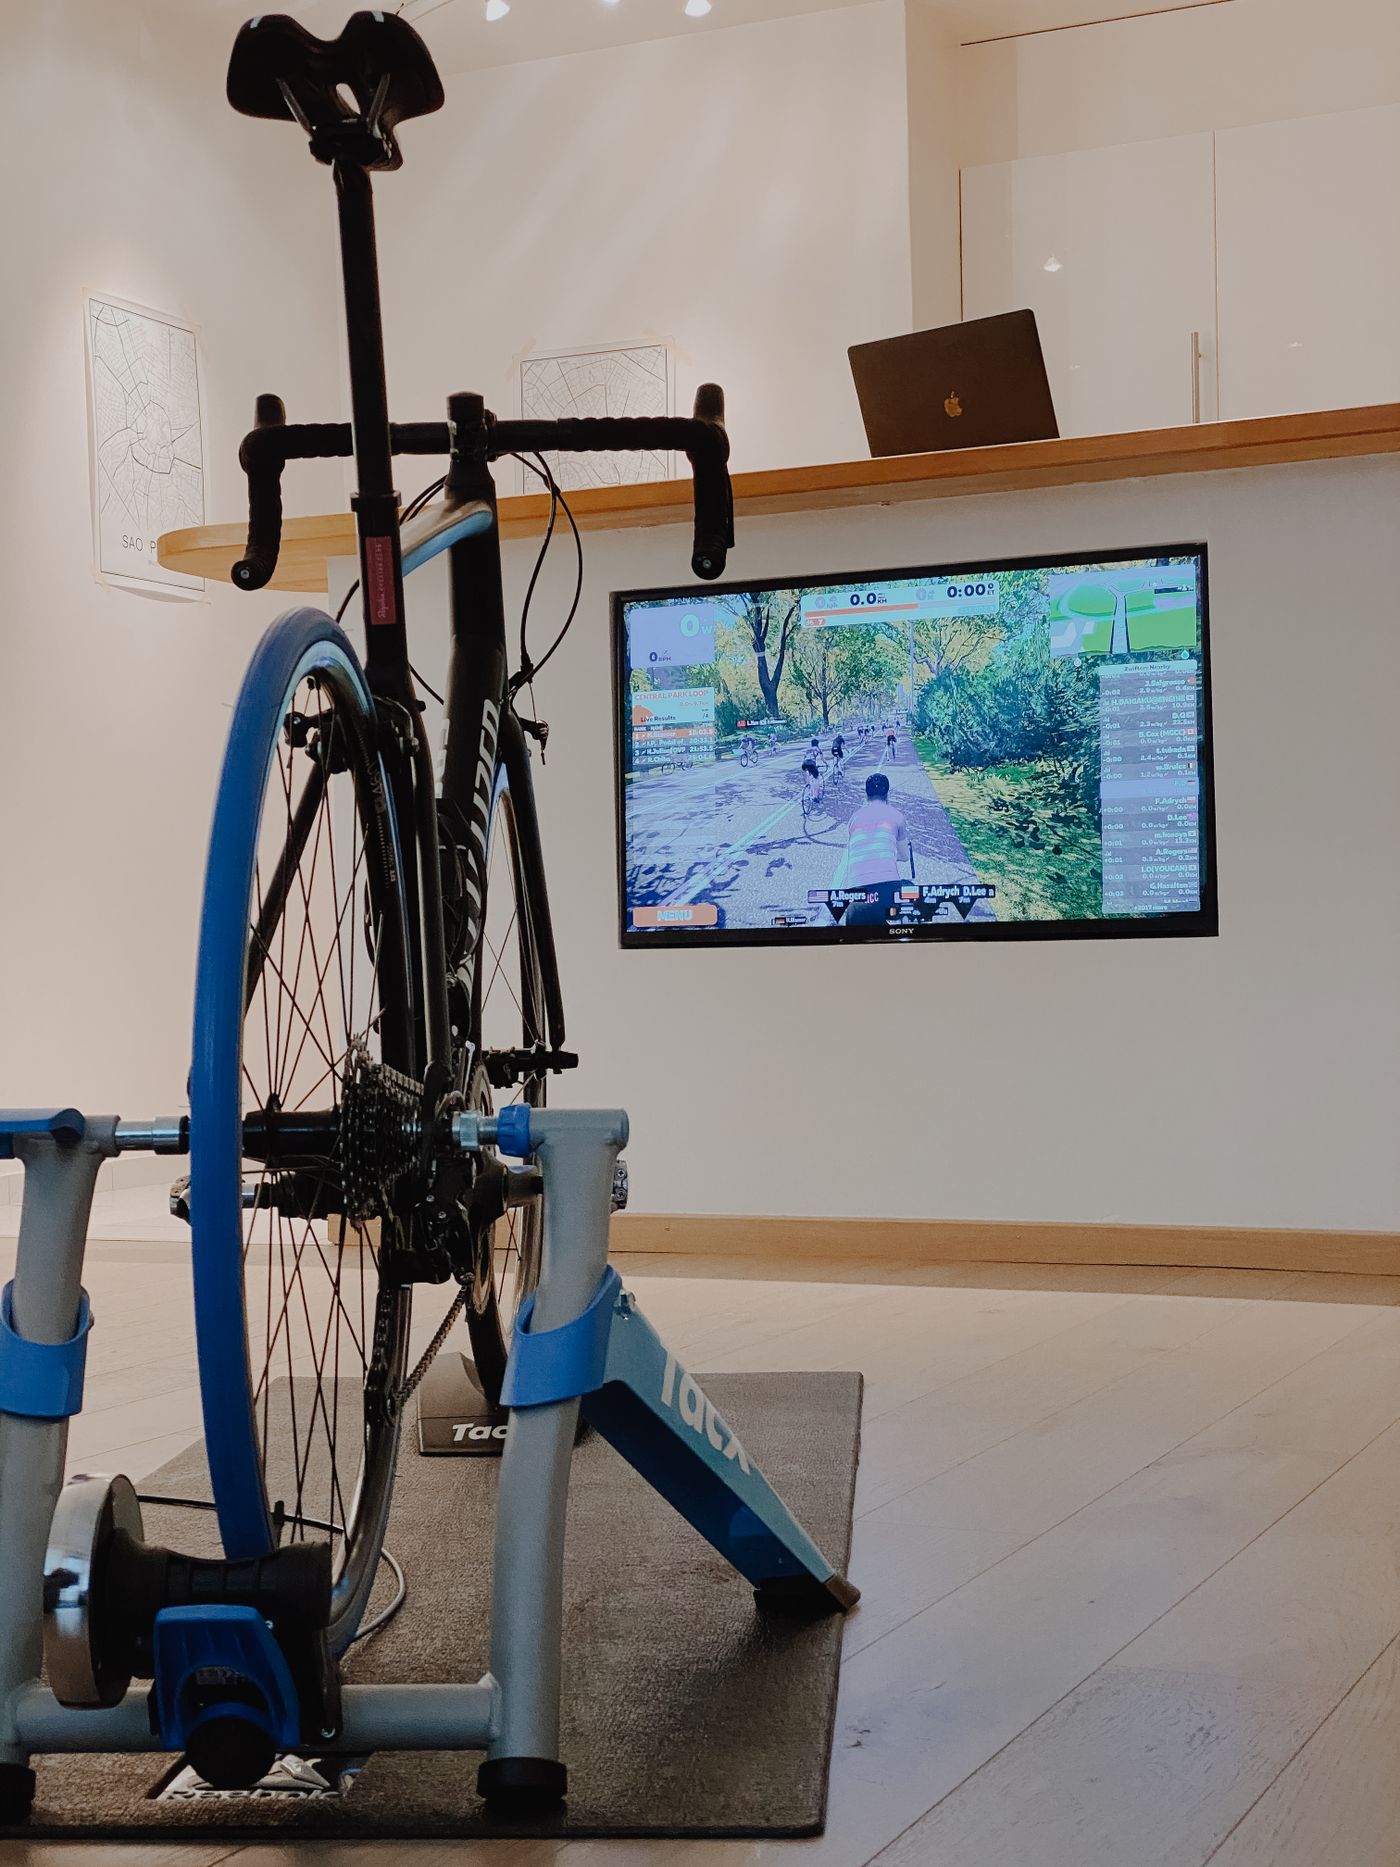
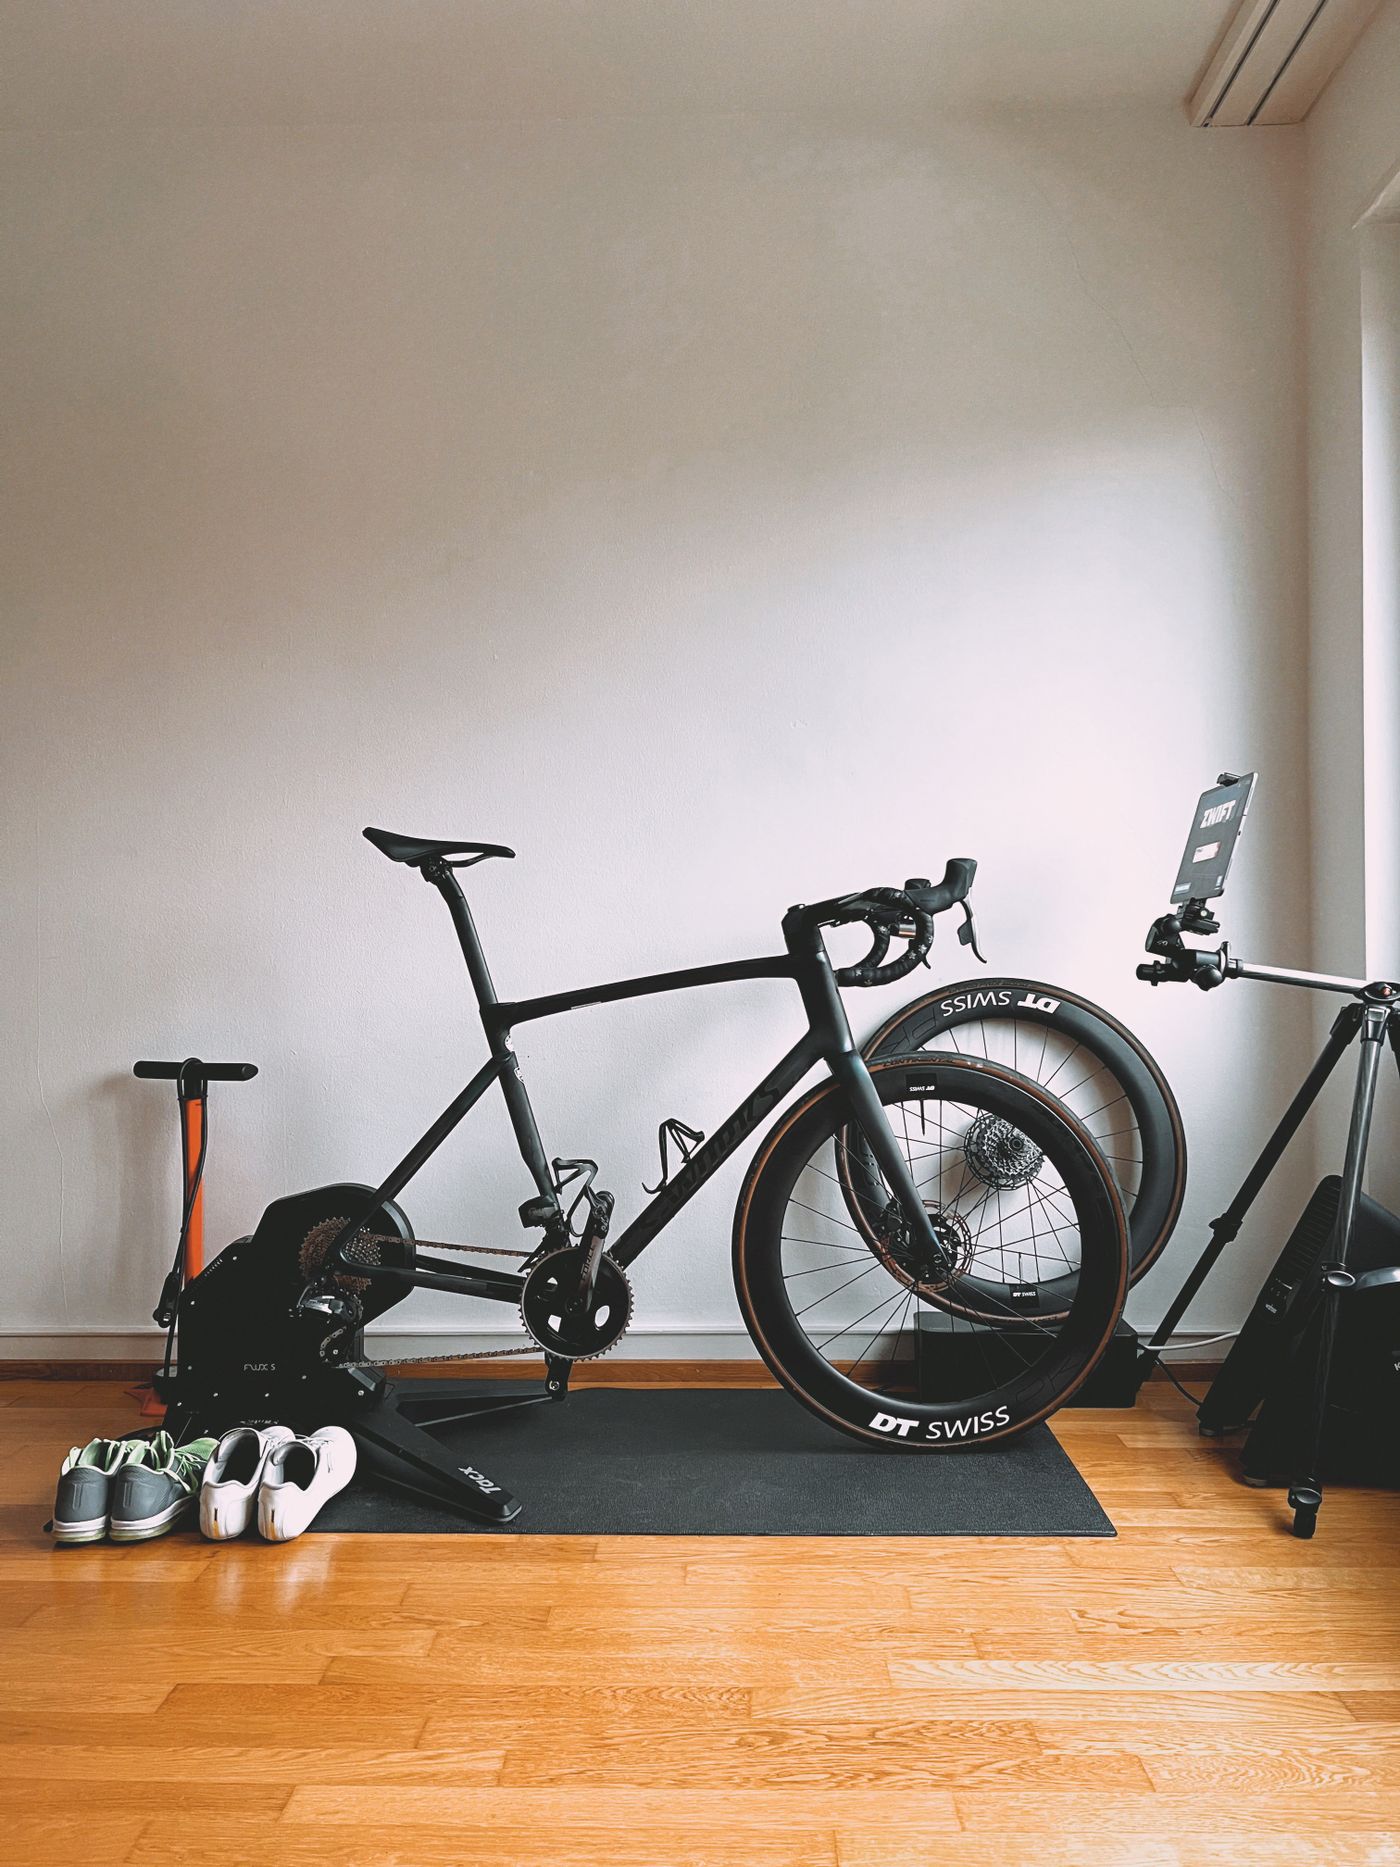
15 to 30 seconds from the side, on an indoor trainer. A phone is plenty.
Angles get measured
Knee, hip, torso, shoulder and ankle angles are read across every pedal revolution — each at its exact crank position.
Get your recommendations
Concrete adjustments in millimetres for saddle height, saddle position, cranks and cockpit — in the order you should apply them.
No catch
Everything is free.
There is no paywall.
- The complete analysis, not a preview of it
- Every recommendation in millimetres, nothing held back
- The PDF report included
- No account, no email address, no trial period
- No adverts, no data selling
There is no premium tier waiting behind the results, and there are no plans for one. What you get is what there is.
The fundamentals
The angles that matter in a bike fitting
Modern bike fitting no longer measures statically with a ruler but dynamically, in motion. Under load the position changes: knee angle at the bottom of the stroke comes out systematically different while pedalling than it does standing still. These three angles have the largest influence on comfort, power transfer and injury risk.
Knee extension
Measured at the bottom dead centre of the pedal stroke. The target depends on the bike: road 140–145°, gravel 140–143°, mountain bike 146–150°. Too little extension loads the kneecap; too much makes the pelvis rock on every revolution.
Hip angle
At the top of the stroke, between torso and thigh. Below 45° the diaphragm gets compressed and the glutes lose their leverage. The most effective lever against it is a shorter crank.
Elbow flexion
A slight bend works as a natural shock absorber. Locked-out arms send every impact straight into wrists, shoulders and neck — and encourage numb hands.
What the analysis looks at
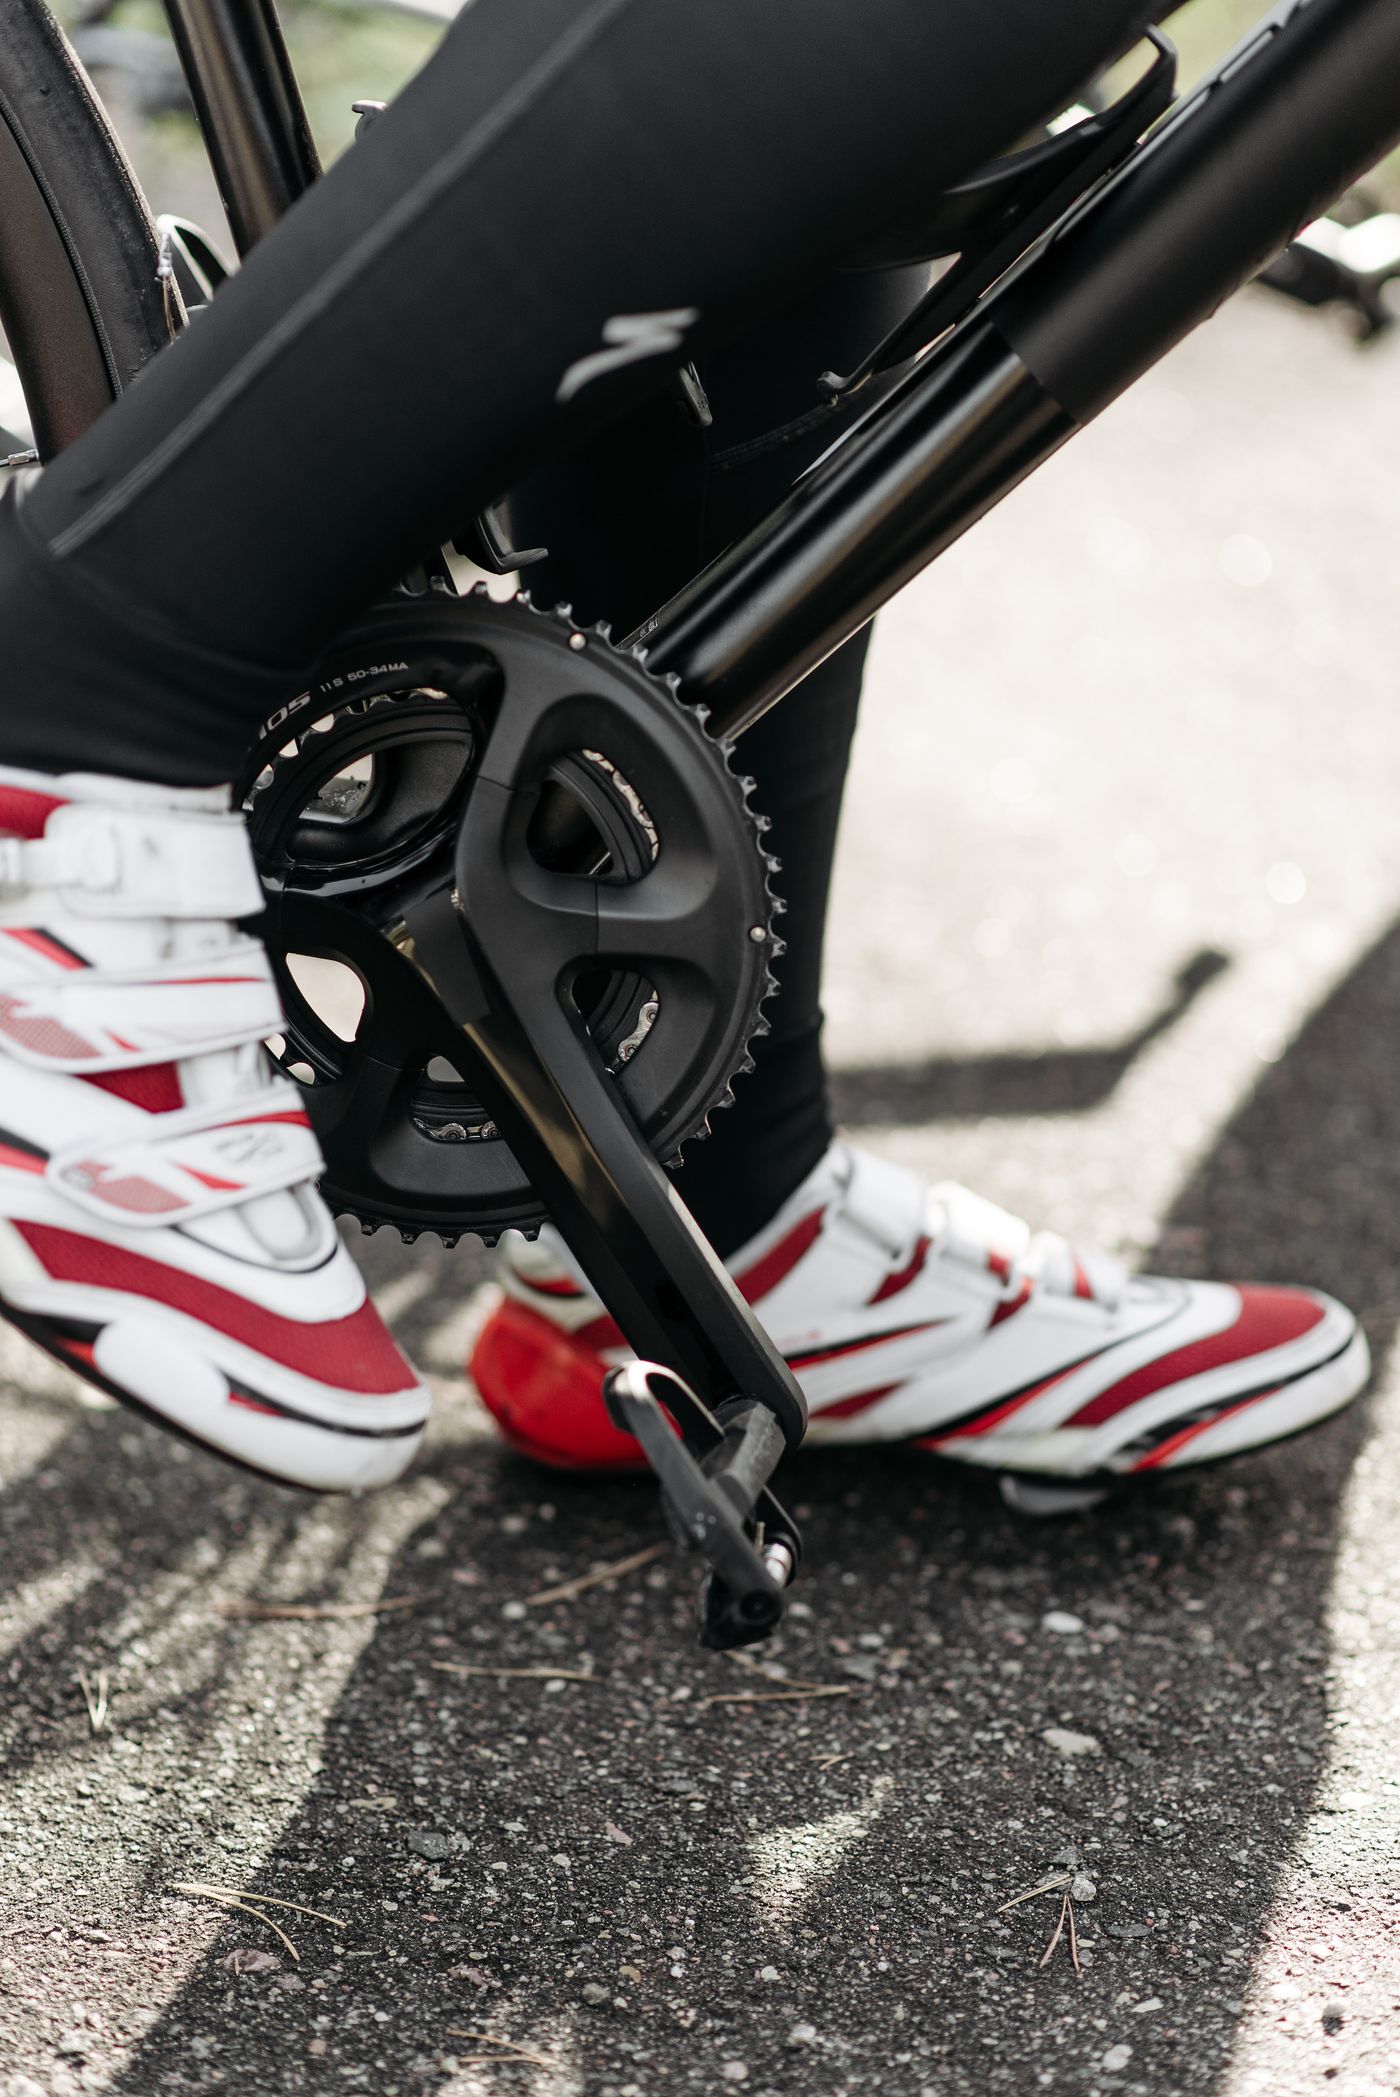
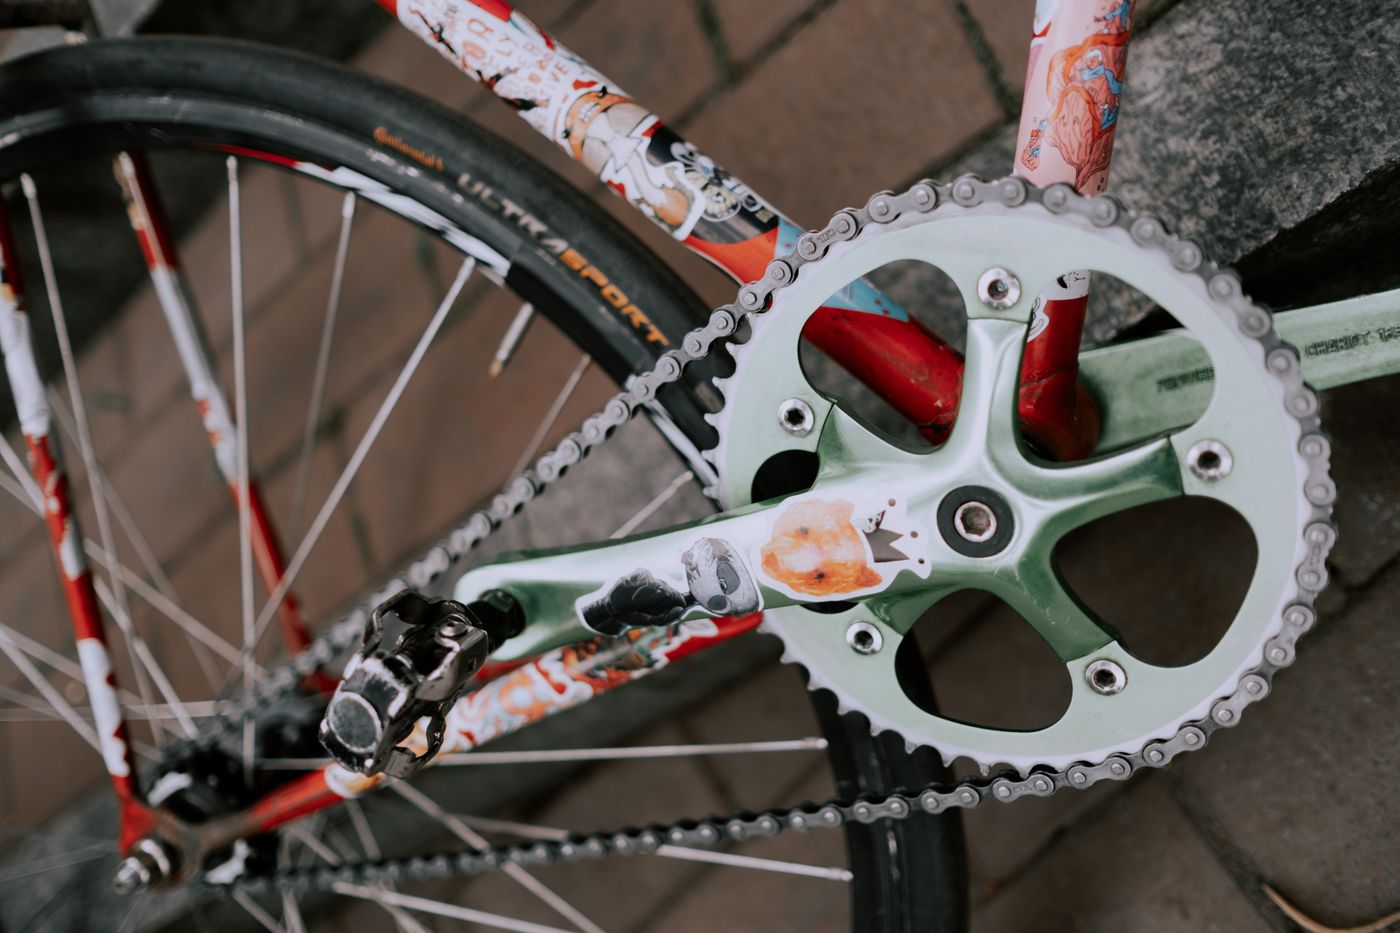
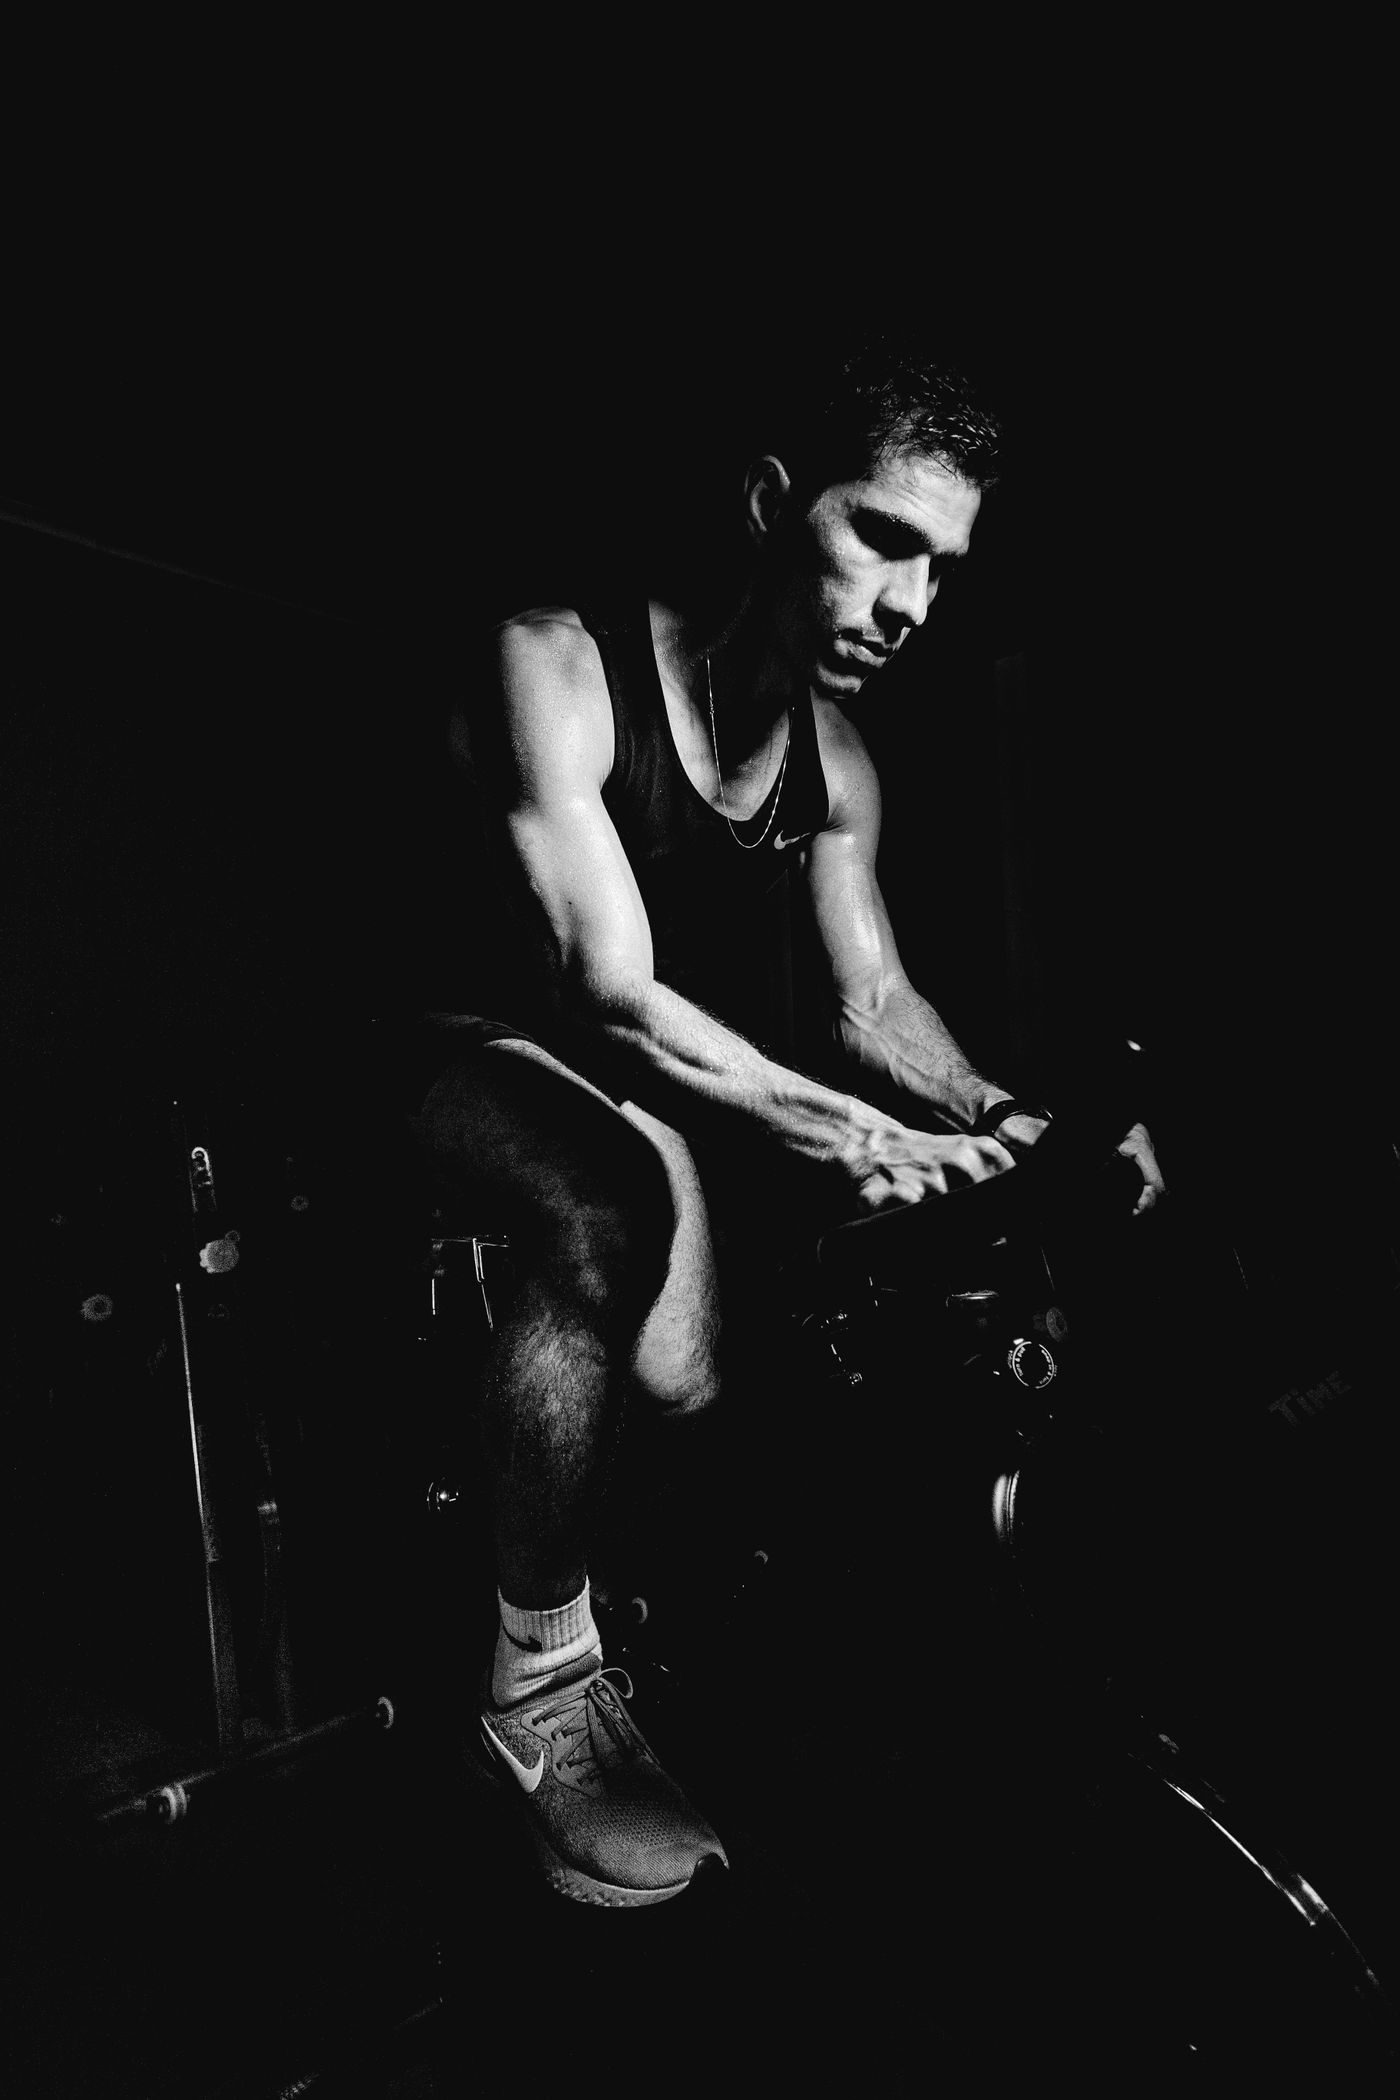
From the trainer setup down to the cleat.
Questions & answers
Common questions about bike fitting
Is an online analysis as good as a bike fitting in a studio?
No, and it is not meant to be. A professional studio can factor in more: saddle pressure mapping, mobility testing, individual complaints, leg length differences. For the basic setup of saddle height, saddle position and cockpit, video analysis does deliver solid, biomechanically grounded reference values that improve most riders’ positions markedly — and it shows you whether a studio visit is worth it at all.
What kind of video do I need?
A 15 to 30 second clip filmed from the side, at 90 degrees to the bike, while you pedal on an indoor trainer at moderate to hard effort. Important: your whole body and the bike should stay in frame throughout. Optionally you can add a clip filmed from the front — only that view can measure whether your knee tracks sideways while pedalling.
Are my videos stored or uploaded?
No. The entire analysis runs directly in your browser, on your own device. Your video is never transmitted to a server and never stored anywhere. It does not leave your device.
What does it cost? Is there a paywall?
Nothing, and no. You get the complete analysis including every recommendation and the PDF report, without an account, without an email address and without a trial period that eventually expires. There is no premium tier behind the results and none is planned. If you want to support the project, there is a voluntary donation — it changes nothing about what you get.
How often should I check my position?
After any significant change — a new bike, a new saddle, new shoes, noticeably changed mobility — a check is worthwhile. Many riders make it a once-a-season routine, typically before the build phase starts.
Does it work for mountain, gravel or triathlon bikes?
Yes. The core mechanics apply to every kind of bike, but the targets differ noticeably: mountain biking favours a lower position at 146 to 150 degrees of knee extension, while on a triathlon bike the saddle moves far forward so the knee sits 20 to 80 millimetres ahead of the pedal axle. You pick your bike type at the start and the analysis uses the matching values.
Do I need any special equipment?
An indoor trainer and a phone are enough. Close-fitting clothing and good lighting help — the more clearly hip, knee and foot can be seen, the steadier the measurement. If you know your crank length (usually stamped on the inside of the crank arm), the millimetre figures become considerably more precise.